A discussion on the Affinity forums spoke about luminosity masks and could you create them in Affinity Photo? It was an interesting read, not least because luminosity masks are used all the time in professional image manipulation.
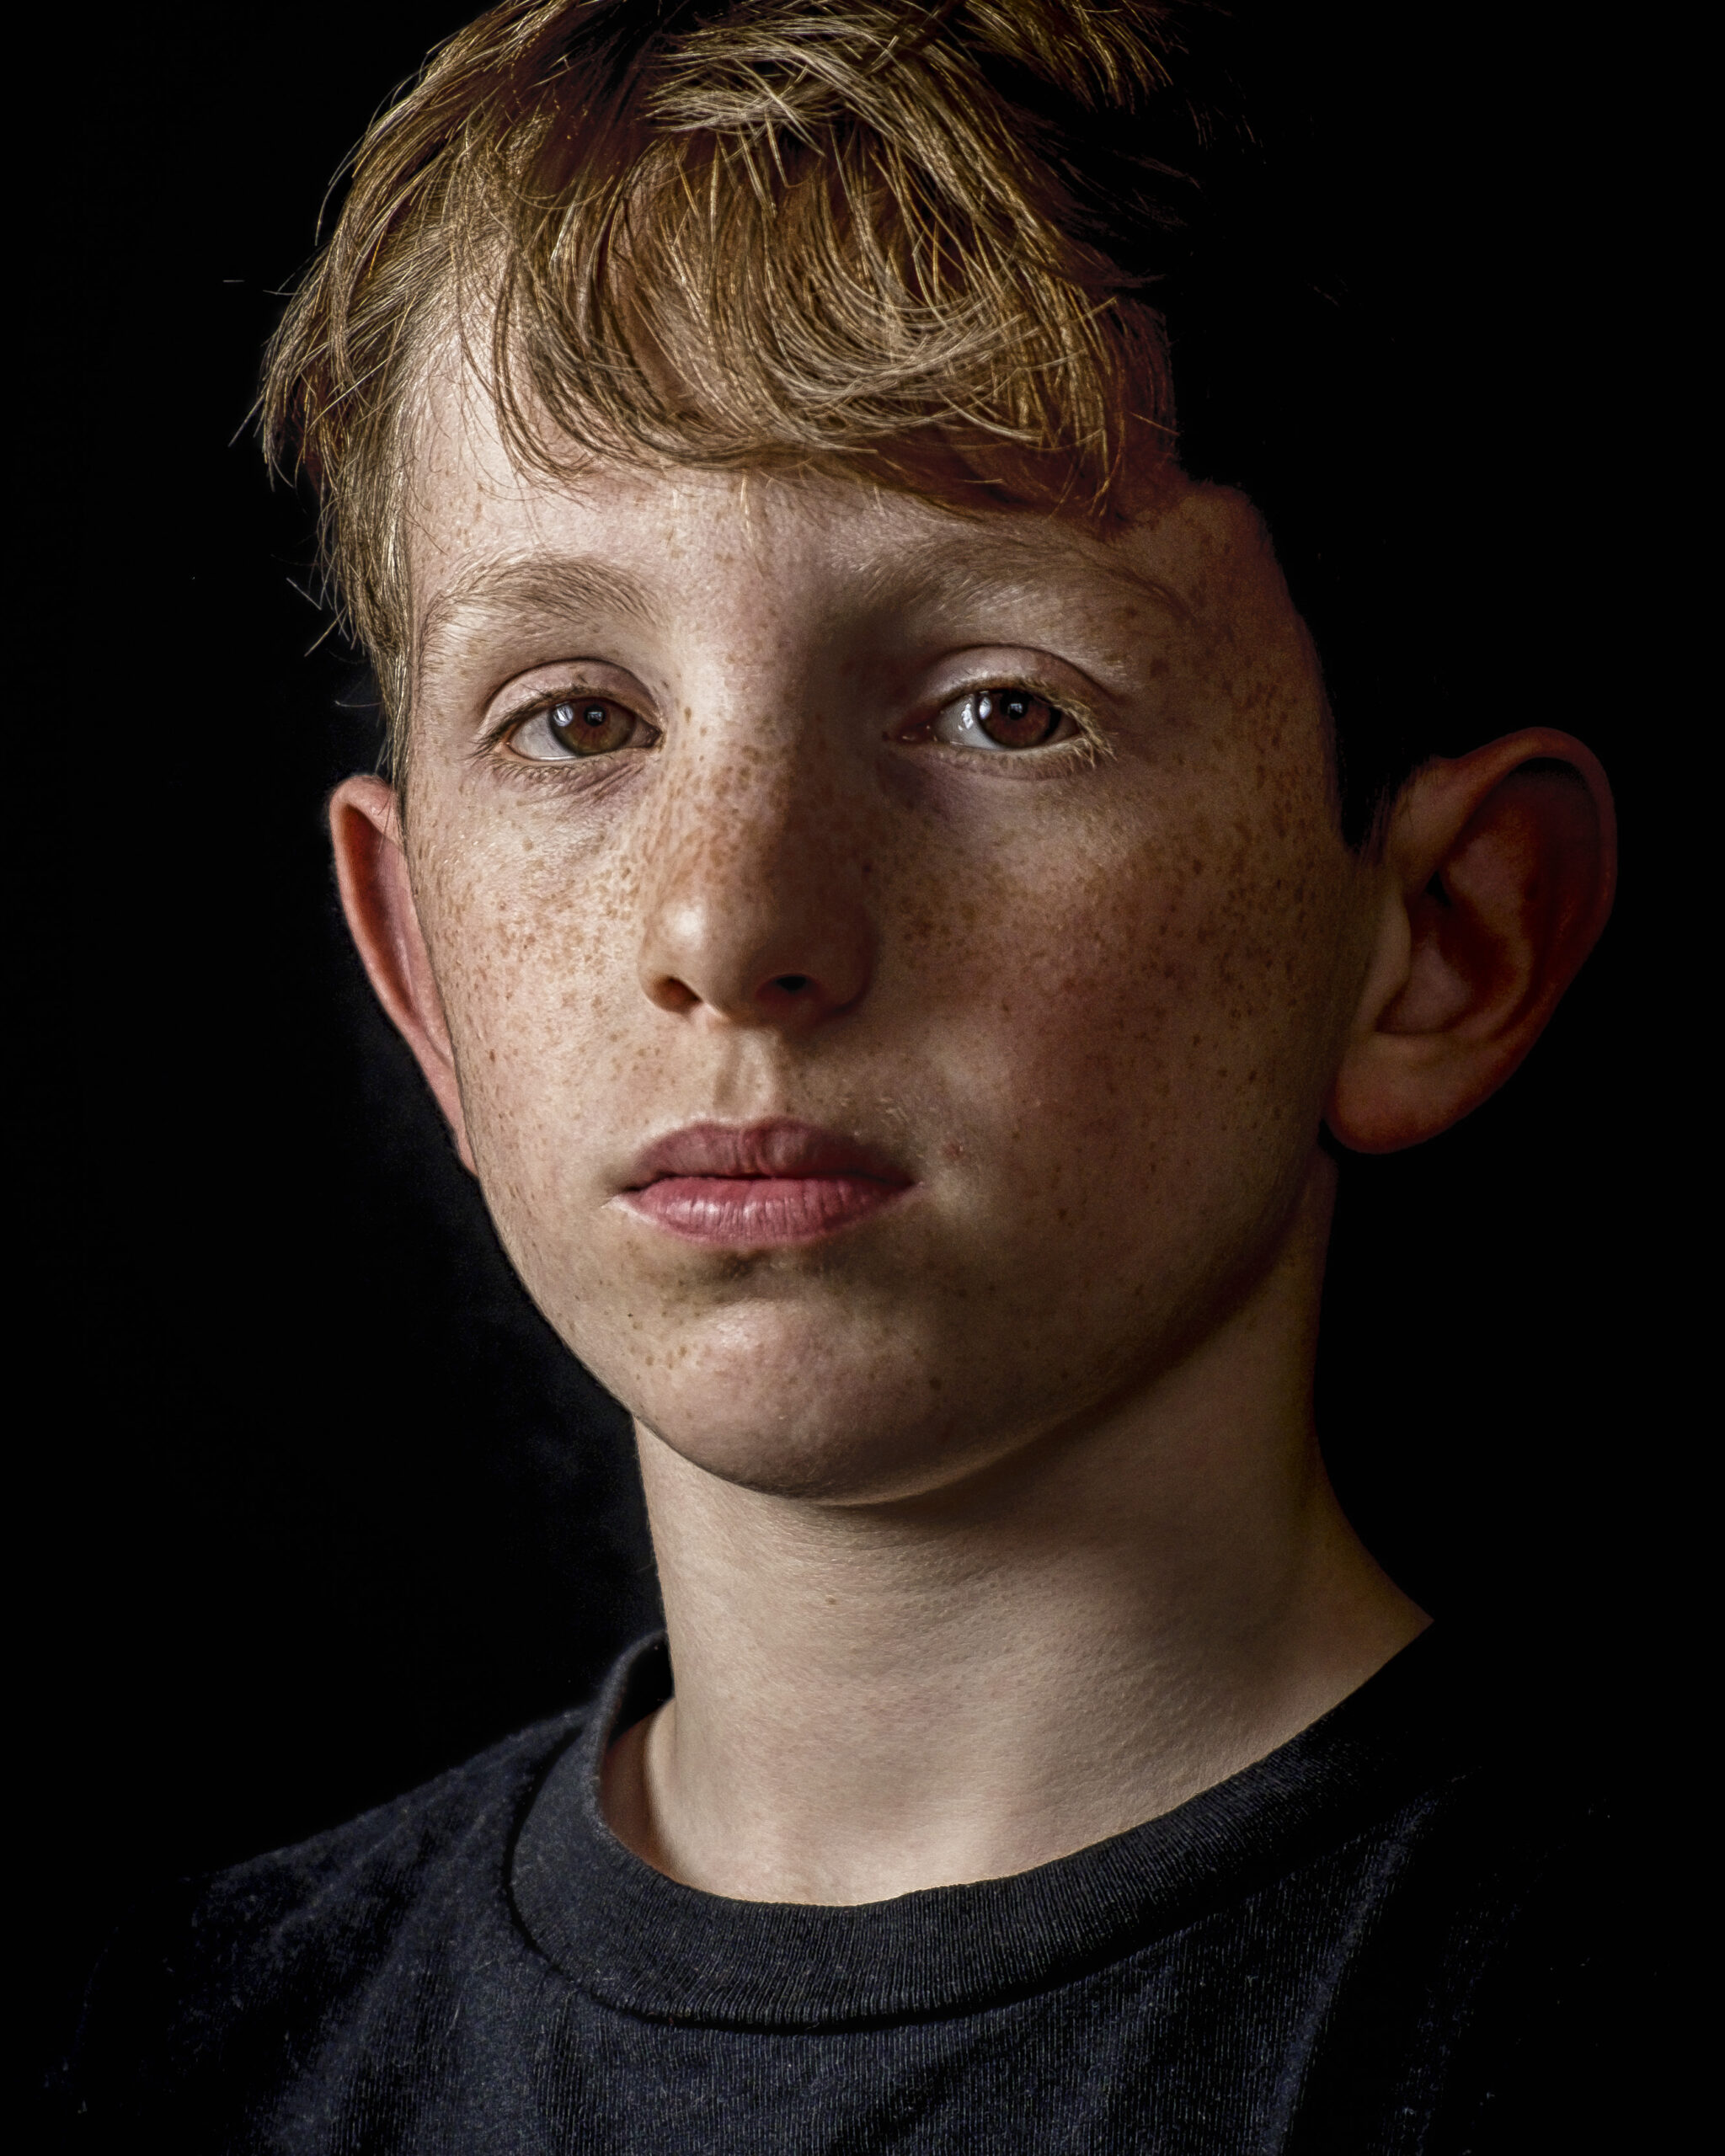
For example you can get fine control over the color balance of different parts of an image based on how bright they are. For example let’s take a look at this photo of a boy which you can download here and follow along with if you want.
What is a Luminosity Mask?
An example of a luminosity mask might be like this image. It’s a black and white version of my photo and I’ve altered it so it’s more contrasty and the lighter areas stand out quite a bit compared to the darker areas. What you do with this image is use it as a layer mask on an adjustment layer. You make your adjustments and the lighter areas are more affected by it because the lighter the particular area of the layer mask is, the more the adjustment will appear. The dark bits of the layer mask will prevent the shadow areas of the picture from being affected as much and any part of the layer mask that’s black means your adjustment won’t appear at all. This is great because the black and white image that you are using as your layer mask isn’t just a series of fuzzy black and white blobs that you painted in. Nope. It’s a smooth rendition of your actual image and so any lighter areas will be affected in a gradual and realistic way. But what if you wanted to affect the shadow areas?
This is the same black and white layer but I’ve inverted it and tweaked it a bit so that this time the shadow areas are lighter in tone and the lighter areas are darker. If you use this as a layer mask on an adjustment layer the shadow areas will be more affected by the adjustment and the highlights progressively less so. In this way you can subtly (or not) affect the shadows and highlights independently and with a great deal of control and realism.
The thing is, you’ll see Photoshop users spending time creating the luminosity masks, running scripts, selecting what they think is the best mask for a particular purpose etc. and I got to thinking ‘I wonder if you can do something similar using the blend range feature inside Affinity Photo..?’
Setting things up
Go to the Adjustment panel and click on White Balance to add a white balance adjustment layer. It could be a HSL Adjust, Recolor, Channel Mixer, Color Balance etc. layer. The important thing is that we will be altering the color of the picture. Go to the layers Panel and duplicate it. Rename the layers as per the screenshot. Make the Shadows layer invisible because we don’t need it for now.
I want to warm up the highlights so Double click the Highlights icon in the layers panel to open the dialog box and move the sliders to roughly where they are in the screenshot. The exact values don’t matter because we’ll be knocking them back to something much more subtle once we have a clear idea of what will be affected by this layer.
Now we get to the interesting part. Click on the Blend Ranges icon at the top of the layers panel.It opens up the Blend Options panel and we get this:
Two dark boxes with a line at the top of them. Not very inspiring so far but until we move those lines at the top nothing has been affected. You see, those lines are the lines of two graphs and these two graphs affect the transparency of a pixel based on how dark or light it is. Let’s take a look at the graph on the right.
The yellow line I’ve drawn running along the horizontal axis of the graph shows the brightness of the pixels, dark spread out to light. So the far left contains the black pixels, the far right all the white pixels, 50% along the mid grey pixels.
The blue line running up the y axis of the graph shows how transparent those pixels are. At the top they are 100% visible, at the bottom they are completely invisible and at 50% up they are 50% visible.
So at the moment all the pixels of the photo have been affected by the white balance adjustment layer because everything, dark to light, is 100% visible. Now notice that we have two graphs, ‘Source Layer Ranges’ and ‘Underlying Composition Ranges’. So I’m going to concentrate on the graph on the right – the underlying composition ranges. Watch what happens when I take the left node of the graph and drag it from the top of the graph to the bottom…
Now the adjustment layer is not affecting all of the pixels of the image equally. the lighter parts of the image are now affected more than the darker parts. What’s happening is each little part of the adjustment layer looks at whatever pixel is sitting under it, decides how bright that pixel is and then makes itself more or less transparent according to what that graph line tells it to do. So the very brightest pixels of the boy get fully tinted orange, the mid bright pixels get partially tinted and the very darkest pixels don’t get tinted at all.
This is exactly what a luminosity mask does, but we’ve done it using layer blend ranges. But here’s the really interesting bit. Unlike blend ranges in Photoshop, we can add as many points to that graph line as we want. Left click to add a point, right click to delete it.
See what I did here? I’ve added an extra point at 40% along the bottom of the graph. What that means is that now the darkest 40% of the pixels in the photo aren’t affected at all by the adjustment layer. Then the rest of the pixels gradually get affected by it more depending on how light they are.
Now I’ve added another point on the graph running along the top at about 90% along. So that means the lightest 10% of the pixels in the photo are completely affected by the adjustment layer.
Now suppose I wanted to further tweak the transition from unaffected dark pixels to fully affected light pixels? No problem. You can see here how I’ve added one more point to the angled part of the graph line about three quarters of the way up and put a slight kink in it? That’s the point. You can make this graph line as subtle as you want. Which means you can make the transition from unaffected dark pixels to fully affected light pixels as subtle as you want.
Do you see now why I made the adjustment layer so ‘colorful?’ If I’d started out with the kind of subtle that I want to end up with I wouldn’t be able to clearly see what my graph was doing.
So now I close the dialog box, make the Highlights layer invisible and the Shadows layer visible to repeat the process.
This is me making the white balance very blue because I think I’d like to try colder shadows.
I called up the blend range dialog box for this layer and this is how I set up my graph. The darkest 25% of the photo is fully affected by the blue and gets gradually less affacted so that by the time you get to 59%, any pixels here and lighter are unaffected by the adjustment layer.
Now suppose I only want to affect the skin tones? Select both the layers, right click and select Group from the drop down menu. I’ve renamed my group to Shadows and Highlights.
Next I apply a layer mask to the group by clicking the mask layer icon at the bottom of the Layers panel. I don’t want each adjustment layer to have its own layer mask; it would get tedious, pointless and messy trying to maintain two layer masks that were doing the same job, i.e. painting black on the layer mask over the lips, eyes, hair and t-shirt. By the way the other nice thing about having these extreme color shift is that it makes it easy for me to see which bits I’m painting over.
The other nice thing about this is that if you were to do it with luminosity masks, they already are the layer mask. If I paint out bits then come back later and decide I’ve got it wrong there’s nothing I can do about it apart from running my luminosity mask scripts and starting again. This way the layer mask is kept separate from the coloring in bits and I can tweak them all I want.
So now I get to the really flexible bit. Open up the Shadows and Highlights group and I’ll start with the highlights. Double click the adjustment layer icon to open it and dial back the sliders so the effect is less intense. Don’t forget that even with the dialog box open you can make the layer visible or invisible by clicking the tick mark for the layer in the layers panel. That will help you judge how much of a difference you are making.
Now onto the shadows and I’m reducing the effect but keeping the shadows cooler. You can toggle the layer on or off while doing this. You can also make the whole group visible or invisible to see the overall effect. If you want to get creative you can change the layer blend mode of the adjustment layers. Also don’t forget you can open the blend ranges dialog box to further tweak the transitions from dark to light.
So here’s my altered image. The changes I’ve made are subtle – which is kind of the point when using luminosity masks. I have massive flexibility and tweakability over how strong the effect is, what kind of adjustment layer I choose to affect the tones, how much of the dark and light tones are affected via the blend range graphs and also because the layer mask is separate from the blend range, which bits are affected by the process.
Now don’t get me wrong, I really like the products that Adobe sell – I owe much of my career to them. But the Photoshop blending options doesn’t have the graph function that the Affinity Photo blend ranges have and so you can’t get this kind of flexibity with them.
So remind me again; why do I need luminosity masks?
